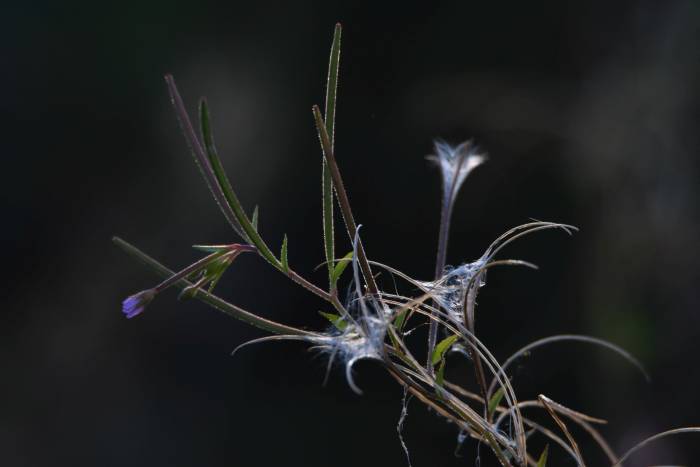
Here’s an example of using exposure compensation to get the look you want. These plants were at the edge of a pond at Fraser Foreshore Park in Burnaby, BC.
I had the camera on a tripod, and took several shots, dialing in more and more negative, or minus, compensation with each shot.
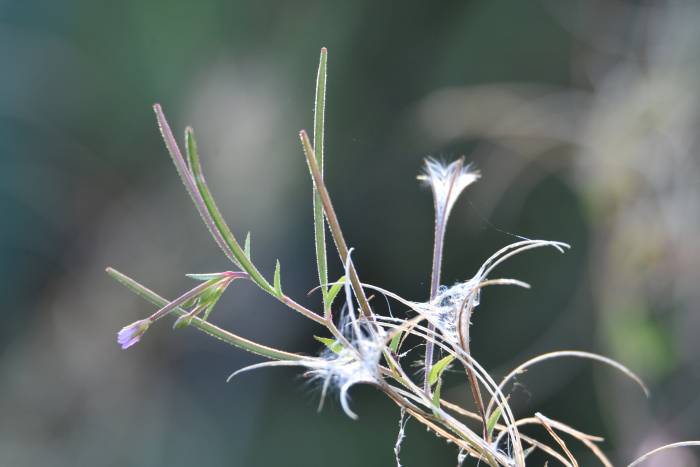
EV – 0.7
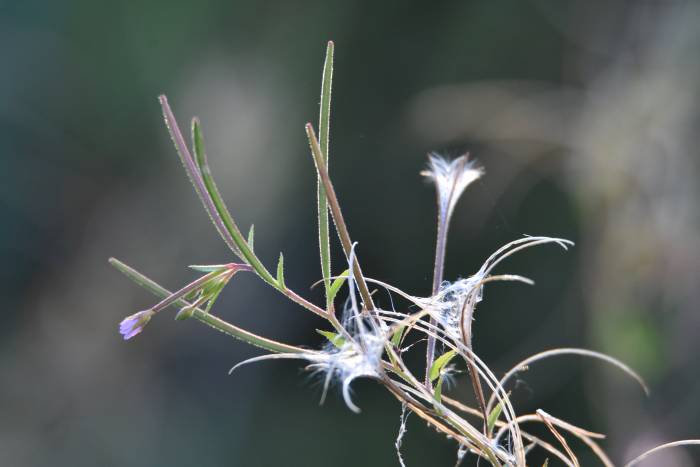
EV – 1.3
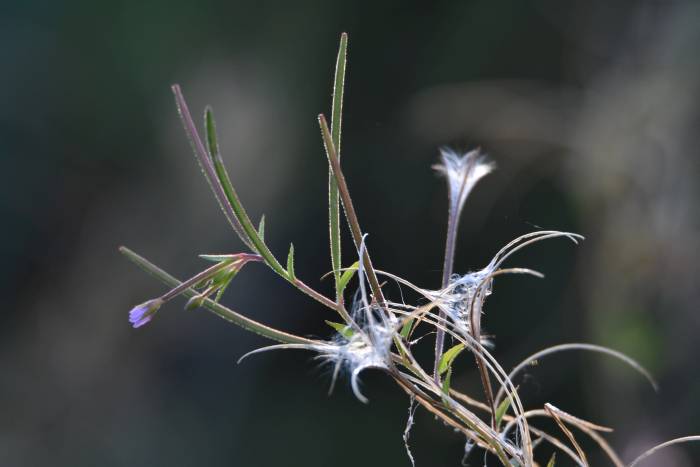
EV – 2.0
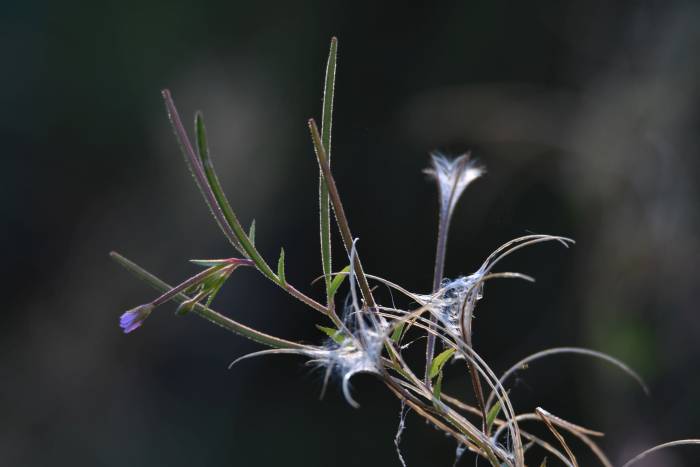
EV – 2.7
EV – 3.3
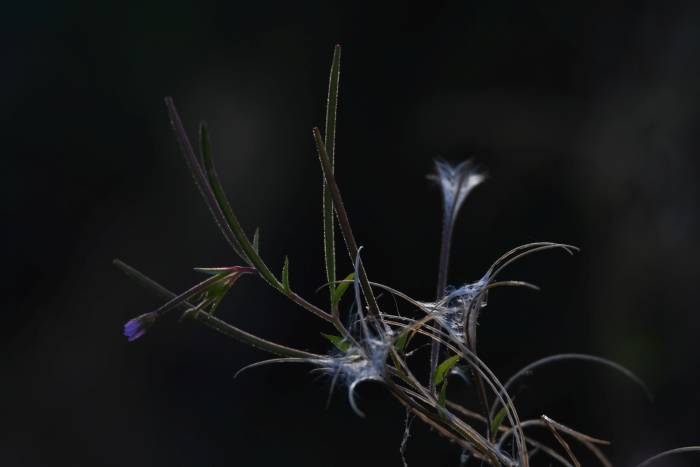
EV – 4.0
All DSLRs should be able to do this, and many pocket cameras. Check your manual if you don’t know how to use these controls. It’s usually a button with a +/- sign on it. On my Nikon DSLRs it’s right next to the shutter button (that’s how useful it is!), and on my teeny pocket Canon, it’s right on the back next to the movie button. On some cameras, it’s unfortunately buried in a screen menu.